The Ninja Air Fryer Oven is a true kitchen superstar. It can air fry, bake, toast, and dehydrate, quickly becoming the go-to appliance for everything from crispy French fries to perfectly roasted chicken. But after all that delicious cooking, you’re often left with the not-so-fun part: the cleanup.
Opening the door to see splattered grease, a collection of crumbs on the floor, and a hazy film on the glass can feel discouraging. It’s easy to shut the door and tell yourself, “I’ll get to it later.”
However, letting that grime build up is a bad idea. Leftover grease and food bits can start to smoke at high temperatures, create unpleasant burnt smells that seep into your next meal, and even affect how well your oven cooks. A clean oven is a happy, efficient oven.
The fantastic news is that cleaning your Ninja Air Fryer Oven is much easier than you think. You don’t need harsh chemicals or intense scrubbing. With a simple routine and a few household staples, you can keep your appliance in pristine condition. This guide will show you exactly how to tackle everything from a quick daily wipe-down to a deep clean that busts through the most stubborn, baked-on messes.
First Things First: Gather Your Gentle Cleaning Arsenal
Before you even think about cleaning, let’s get your supplies ready. The best approach is a gentle one. You want to protect the non-stick surfaces and the delicate interior of your oven. You probably have everything you need right in your kitchen.
Crucial Safety Note: Always, without exception, make sure your Ninja oven is unplugged from the wall and completely cool to the touch before you begin. This is the most important step for your safety.
Here is your simple and effective cleaning kit:
- Soft cloths: A few microfiber cloths are ideal. They grab onto grease and grime without scratching.
- A non-scratch sponge: Find a sponge that has a scrubby side but is clearly labeled as “non-abrasive” or “safe for non-stick cookware.”
- Basic dish soap: A good grease-cutting dish soap (like original blue Dawn) is your best friend here.
- Baking soda: This is the magic ingredient for tough jobs. It’s a natural, gentle abrasive that lifts caked-on food without damaging surfaces.
- White vinegar: An excellent natural deodorizer and cleaning agent.
- A small, soft brush: An old toothbrush or a small dish brush works perfectly for getting into tight spots.
- A spray bottle (optional but helpful): For mixing vinegar and water solutions.
- A small bowl: To create your baking soda paste.
What You Must Avoid
To protect your appliance and ensure it lasts, never use the following:
- Harsh chemical oven cleaners
- Abrasive scouring pads or steel wool
- Metal utensils or sharp objects to scrape away food
- Bleach or other corrosive chemicals
These items will permanently scratch and damage the non-stick coatings and the interior finish of your oven, potentially ruining it.
The Everyday Clean: Your 5-Minute Post-Cooking Routine
The best way to prevent a major cleaning headache is to perform a quick, light clean after most uses. This is especially true if you’ve cooked something messy, like greasy meats or saucy vegetables. This simple habit makes a massive difference.
Step 1: Unplug and Let It Cool
We’re saying it again because it’s that important. Unplug the appliance and give it at least 30-60 minutes to cool down completely. A hot oven is a safety hazard.
Step 2: Empty and Wash the Removable Parts
Your first task is to remove all the accessories. This includes the air fry basket, the sheet pan or wire rack you used, and the crumb tray at the very bottom.
- Tackle the Crumb Tray: This tray is your hero; it catches most of the mess. Carefully slide it out and dump all the loose crumbs into your trash can.
- Wash the Accessories: The best method is to hand wash the basket, pan, and rack in your sink. Use warm water, a little dish soap, and your non-scratch sponge. While many Ninja accessories are listed as dishwasher-safe, the high heat and harsh detergents in a dishwasher can wear down the non-stick coating over time. A gentle hand wash will keep them in great shape for much longer.
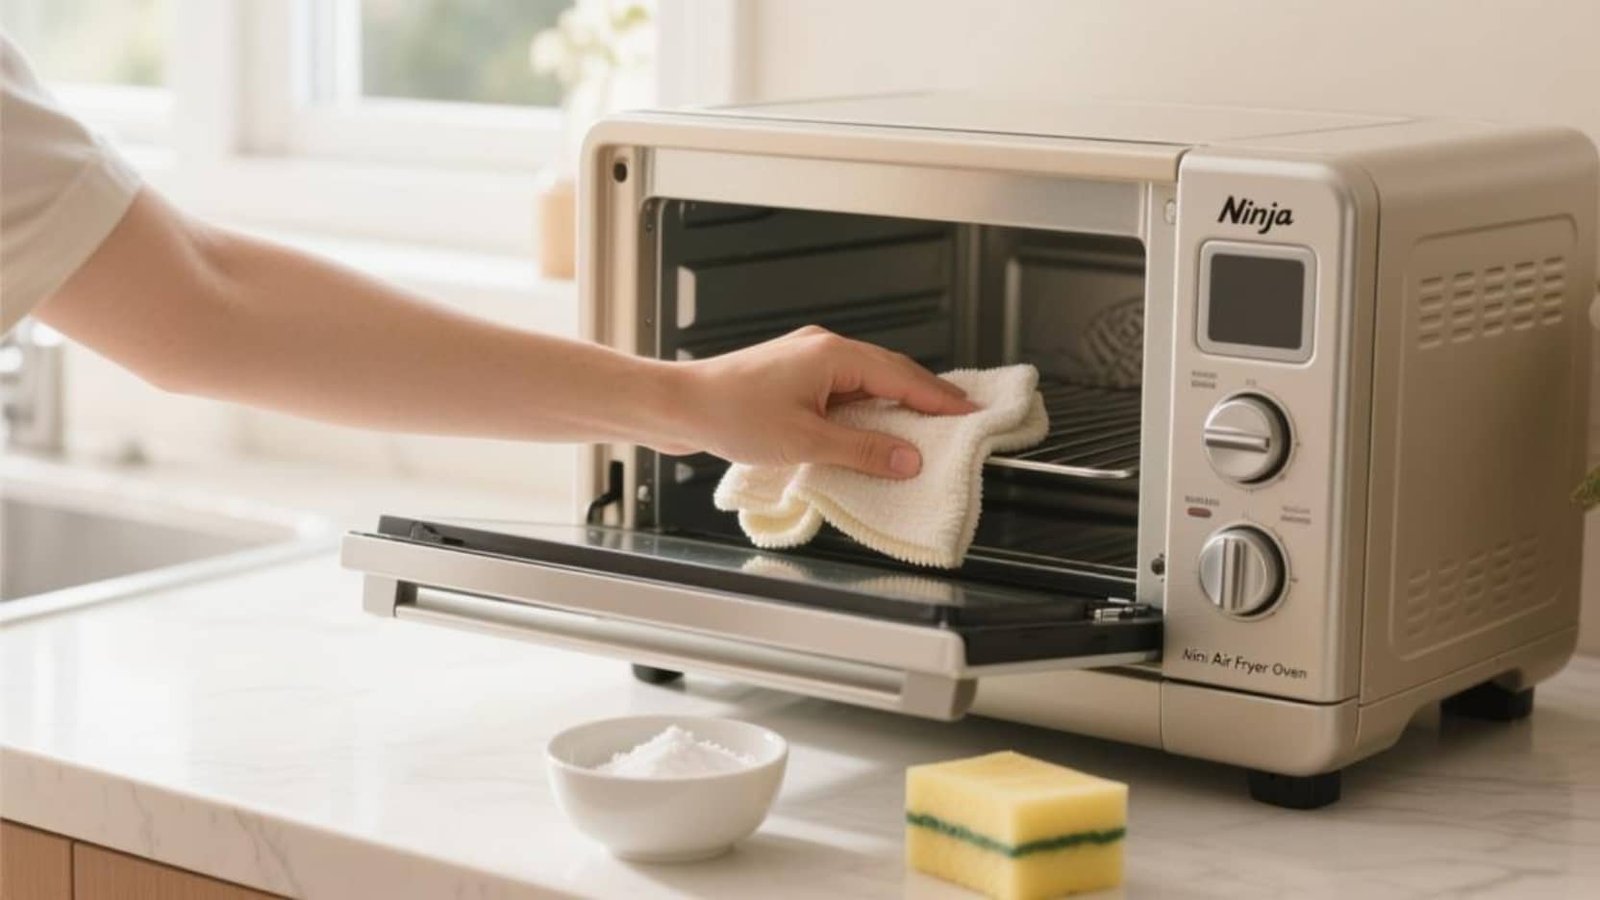
Step 3: Wipe Down the Oven’s Interior
Now that the oven is empty, you can easily access the inside.
- Take a microfiber cloth and get it damp with warm water. Add a tiny drop of dish soap.
- Squeeze the cloth out so it’s damp, not soaking wet. You don’t want water dripping everywhere.
- Gently wipe down the inner walls, the floor of the oven, and the inside of the door. This will easily remove any light grease splatters or stray crumbs from your last meal.
Step 4: Polish the Glass Door
A crystal-clear door lets you monitor your food without opening it and letting heat escape.
- Use your damp, soapy cloth to wipe the inside of the glass.
- Then, take a second clean cloth, dampened with just plain water, to “rinse” away any soap residue.
- Finish by drying and buffing the glass with a dry microfiber cloth for a sparkling, streak-free view.
Step 5: Clean the Outside
Fingerprints, dust, and kitchen splatters can collect on the outside of your oven. Give the stainless steel and plastic housing a quick wipe with your damp cloth to keep it looking sharp on your counter.
The Deep Clean: How to Defeat Stubborn, Baked-On Grease
If you’ve put off cleaning for a while, or after cooking something particularly splattery like a roast, you might find that a simple wipe-down isn’t enough. When you’re facing tough, baked-on gunk, it’s time to bring out the baking soda.
Making and Using a Baking Soda Cleaning Paste
Baking soda is a safe, natural, and incredibly effective cleaner for this job. It breaks down grease and its slightly gritty texture provides just enough scrubbing power to lift grime without scratching.
How to Create and Apply the Paste
- Mix Your Paste: In a small bowl, combine about 1/2 cup of baking soda with 2-3 tablespoons of water. Stir until you have a thick, spreadable paste. It should have a texture similar to cake frosting. If it’s too thin, add more baking soda; if it’s too thick, add a little more water.
- Apply the Paste to Problem Areas: Using your fingers or a small silicone spatula, spread the baking soda paste directly onto the baked-on grease spots inside the oven. Concentrate on the floor and the lower parts of the walls where grease tends to pool and burn.
- Important: Be very careful to avoid getting any paste on the heating elements at the top of the oven. These are sensitive and should not be coated in any cleaner.
- Let It Work Its Magic: Now, you need to be patient. Let the paste sit for at least 30-60 minutes. For really tough, old stains, you can leave it on for several hours or even overnight. As the paste sits, it will dissolve the grease and harden.
The Removal Process
- Wipe It Out: Take a damp microfiber cloth or your non-scratch sponge and begin to gently wipe away the dried baking soda paste. The caked-on grease should lift off with it. You might need to use a little gentle scrubbing action in a circular motion on the most stubborn spots.
- Rinse Thoroughly: This step is key. You need to remove all the baking soda residue. Rinse your cloth frequently with clean water and keep wiping down the interior until it’s completely clean. Any leftover paste can smoke or bake on the next time you use the oven.
- Dry Completely: Use a clean, dry cloth to wipe the entire interior dry before you put the accessories back in.
How to Clean the Awkward Spots
Some areas need special attention.
The Heating Elements and Fan Guard
The heating elements are the most delicate part of the oven. Never spray them with liquid or scrub them.
- With the oven cool and unplugged, you can carefully tilt it to get a better look at the top interior.
- Use a completely dry, soft-bristled brush (like a clean toothbrush or pastry brush) to gently sweep away any loose crumbs or debris from the elements and the metal guard that protects the fan. That’s all they need.
Top Tips for a Cleaner Ninja Oven
An ounce of prevention is worth a pound of cure. These simple habits will dramatically reduce your deep-cleaning frequency.
- Line Your Pan: When cooking something that might drip, like marinated chicken or bacon, place a sheet of parchment paper on the sheet pan. This catches the mess before it ever hits the pan’s surface. Avoid using foil to cover the entire pan, as it can block airflow. Never place foil on the oven floor or crumb tray, as it can reflect heat and cause damage.
- Clean Spills Right Away: If you see cheese melt onto the oven floor or sauce splatter on the door, clean it up as soon as the oven has fully cooled. A fresh spill wipes away in seconds; a spill that’s been baked on five times is another story.
- Give Your Food Space: Don’t overcrowd the air fry basket or pan. Leaving room allows for proper air circulation, which gives you crispier food and also prevents food from touching the hot oven walls or heating elements.
Frequently Asked Questions (FAQ)
How often should I be cleaning my Ninja Air Fryer Oven?
For best results, you should empty the crumb tray after every use. A light, routine clean (wiping the interior and washing the used accessories) is a great idea after every 2-3 uses, or any time you cook something messy. A full deep clean with the baking soda paste should be done about once a month, or whenever you notice a stubborn, greasy buildup or a burnt smell that won’t go away.
My oven has a burnt smell. How do I get rid of it?
A burnt smell is almost always caused by old food particles or grease burning on the interior or the heating elements. The first step is to perform a thorough deep clean using the baking soda method. If a faint smell persists, you can use a vinegar steam. Place a small, oven-safe bowl containing a 50/50 mix of water and white vinegar on the wire rack. Run the oven on the “Bake” setting at a low temperature (like 300°F) for about 20 minutes. Then, turn the oven off, leave the door closed, and let it cool down completely. The steam will help neutralize odors. Finally, wipe the interior with a damp cloth.
Is it really that bad to use a commercial oven cleaner spray?
Yes, it is really that bad. Do not do it. Those powerful chemical sprays are formulated for traditional, heavy-duty ovens with different interior surfaces. Using them on your Ninja oven will permanently strip away the special non-stick coatings, damage the finish, and can leave behind harmful chemical residues. It will also void your warranty. Stick to simple dish soap, water, and baking soda.
Final Thoughts
Your Ninja Air Fryer Oven is a fantastic kitchen appliance that simplifies cooking and delivers delicious results. Taking care of it doesn’t have to be a difficult chore.
By embracing a quick cleaning routine and knowing how to tackle bigger messes with simple, safe ingredients, you’re doing more than just keeping it looking good. You are ensuring it runs efficiently, cooks your food without any off-flavors, and remains a safe and valuable part of your kitchen for many years to come. Now that you know how easy the cleanup can be, you can cook with confidence, knowing you have the tools to handle any mess that comes your way.


Pingback: How To Clean Your Air Fryer Like A Pro! - The Trendian